SharePoint 2013 Promoted Results aka Best Bets

With SharePoint 2013 the term Best Bets is no longer used, the new term is Promoted Results. The concept of the feature is the same, an administrator can serve (promoted) results based on specific search phrases enter by a user. The promoted result will appear on the top of the search results, this is a powerful way to promoted search results within SharePoint 2013. Specific results can be brought forward to the users attention with minimal effect and without changing any difficult ranking mechanic or index.

Solution

1. Open SharePoint 2013 Central Administrator.
2. Open the Managed Service Applications and click on the Search Service Application.
3. Click on Query Rules.
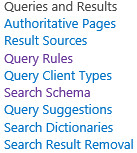
QueryRules
4. Select the context (source), in this example I used the Local SharePoint Results (System).
QueryRulesSource
5. Click on New Query Rule.
NewQueryRule
6. Enter a Rule name.
RuleName
7. Specify the exact phrases for the promoted result, use a ; to separate multiple phrases.
8. In this example I will make a promoted link to a image library.
ResultPhrase
9. Click on Add Promoted Result.
AddPromotedResult
10. Enter the Title and the Description of the Promoted Result.
11. Specify the URL that will be linked to the promoted result.
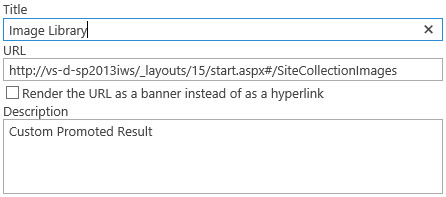
PromotedResultConfig
12. Save all the changes.
13. The promoted result is created and ready for use.

Result

Custom Promoted Result

SharePoint 2013 Search Refinement panel

In SharePoint the refinement panel is used to narrow down the search results. SharePoint provides a set of default refiners containing result type, author and modified date. Compared to previous version changing the refiners is simplified and very straight forward. Existing refinement options can be added through the user interface and options can be set per refinement.

RefinementOptions

Change the refinement panel

1. Edit the Search results page.
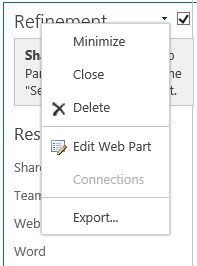
2. Edit the the refinement panel.
RefinementPanelEdit
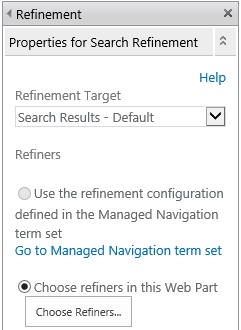
3. Click on Choose Refiners…
RefinementPanelChooseFilters
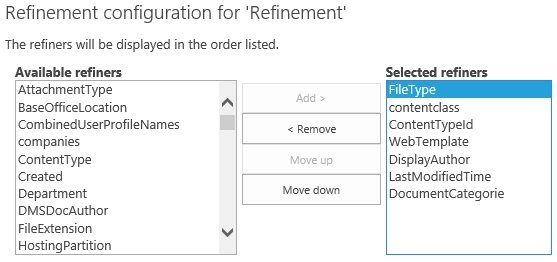
4. With the Refinement configuration available refiners can be added or removed and ordered.
RefinementConfiguration1

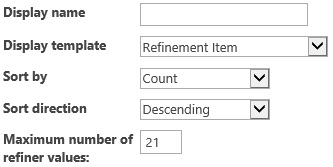
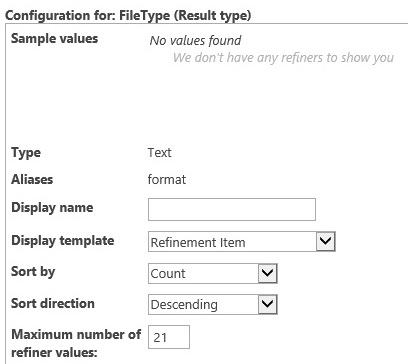
5. The following setting can be changed for every selected refiner.
RefinementConfiguration2
6. Apply the changes and publish the search results page.

Create new refinement options

1. Open Central administration and open the Manage service applications.
2. Select the Search Service Application and click on Manage in the ribbon.
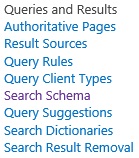
3. Click on Search Schema under Queries and Results
SearchSchema
4. If you are adding a newly created column make sure the column is available in the Crawled Properties
5. If the column is not available preform and crawl.
5. Click on New Managed Property
New Managed Property
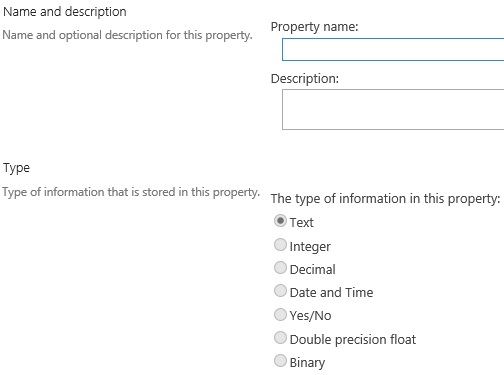
6. Enter the Property name and select the correct type.
Managed Property name
7. Select the following options; Searchable, Queryble and Retrievable.
Managed Property Settings
8. Select Yes – active by Refinable
RefinementYes
9. Click on OK to save the changes.
10. Preform a crawl to make the new refinement available.
11. Add the refinement option in the refinement panel.