SharePoint 2013 Search tips and tricks

Search is a very big part of almost every SharePoint site but searching through the content is not the goal, finding the correct content is. In this post I will give 8 tips to get better search results!

1 Refinement panel

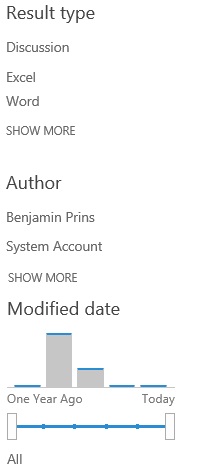
Use the refinement panel on the search results page to narrow down the results. When SharePoint displays the search results you can filter the results by using the refinement panel. Common refinement options are result type, author and modified date.

Refinement planel

2 Use Boolean operators

Boolean operators are used to narrow or expand the search results. Capitalization usually does not matter in search, except for operators. For Boolean operators to work correctly they need to be written in capitals.

AND Use AND to narrow your search results. The returned search results include all of the free text expressions
NOT Use NOT to narrow your search results. The returned search results don’t include the specified free text expressions or property restrictions.
OR  Use OR to expand your search to include more terms. The returned search results include one or more of the specified free text expressions or property restrictions.

Example: “Project plan” OR “Business Case”

3 Use wildcards

Use a wildcard * if you want to be sure to get variations of the term you are looking for or if you are not sure about the spelling.
Example: Project* to search for all item starting with the word project.

4 Use double quotes

Use double quotes “” to find exact phrases if you are sure about the phrases.
Example: “Progress report”

5 Use Search shortcuts

SharePoint search has a few handy shortcuts that make searching for specific types of content faster and easier. When using a shortcut SharePoint combines property filters to narrow down the search results. When searching for a document called Projectplan search for projectplan doc instead of projectplan. In the background SharePoint will change the search shortcut from doc into filetype:doc OR filetype:docx, filtering the results and displaying only Word documents.

Search shortcuts Result
Deck or decks Only PowerPoint presentations will be shown
Slide or slides Only PowerPoint presentations will be shown
Doc Only Word documents will be shown
Video Only video files will be shown
Site Only SharePoint sites will be shown
Blog or blogs Blog sites will be shown
Post Only shows the news feed activities
Conversation Only conversations (discussions) will be shown

6 Use Specifying properties

The most easy way to explain what properties are is to use the less technical term SharePoint uses which is; metadata. Metadata is the data captured to describe the content. By default SharePoint captures a lot of metadata such as document title, document type, last modified date. The main purpose of using metadata is to make sure all the content stored in SharePoint can be found easily.

A basic property restriction consists of the following three parts: a property name a operator and a value

<Property Name><Property Operator><Property Value>

Example: Author:John or Title:Projectplan

7 Use Property restrictions (operators)

When using properties to narrow down the search results it is possible to make the search query even more specific with the use of different property restrictions. The most used and best known is the : operator. When using the : operator the returned results will all be equal to the specified value . There are a lot more operators available a few examples are:

Operator Description Example
: Returns results where the value is equal to the property value (short description) Author:John
= Returns results where the value is equal to the property value Title=Projectplan
< Returns results where the value is less then the property value Created>9/20/2012
> Returns results where the value is greater then the property value Modified<10/10/2012

Search in SharePoint 2013 supports several new property operators. See the full list of the property operators on Keyword Query Language (KQL) syntax referene table 2.

8 Try again

If you did not find the correct document, change the search query a bit. Add or remove terms, operators and properties. Not all documents will be found with the first attempt.

If you want to know more about the new search features check out the post SharePoint 2013 new search features.

Supporting links
Keyword Query Language (KQL) syntax referene

Fast Query Lanquage (FQL) syntax reference

SharePoint 2013 The guest link

With SharePoint 2013 is it possible to share content with external users! There are two different ways to share content, with and without an user account. Without an user account it is possible to share individual document, but when you need to share a whole site a user account is required. One of the best parts of the feature is that the user does not need a licence to be able to interact with the content.

In this post I will explain how to share a document without an account. In a different post I will explain how to share a whole site using an external user account.

Solution

1. Open the document library with the document that needs to be shared.
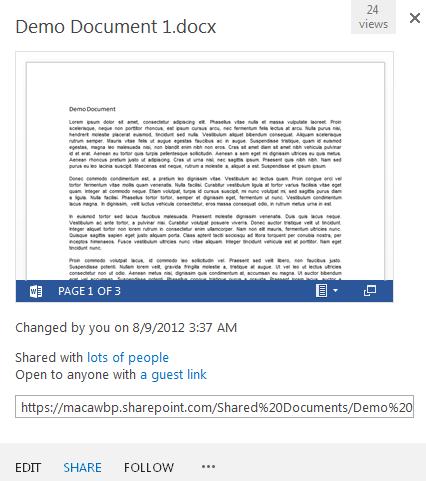
2. Click on the … and then click on Share.
Share Document
3.  Fill in the email address and select Can Edit or Can View.
4. Deselect Require sign-in and click on Share.
Share Document 1
5. A popup window is shown to inform that the document is being Shared using a guest link.
Shared Using Guestlink
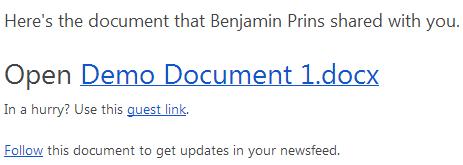
6. The following email is send to the user.
Guest Email
7. Click on the Guest link to open the document.
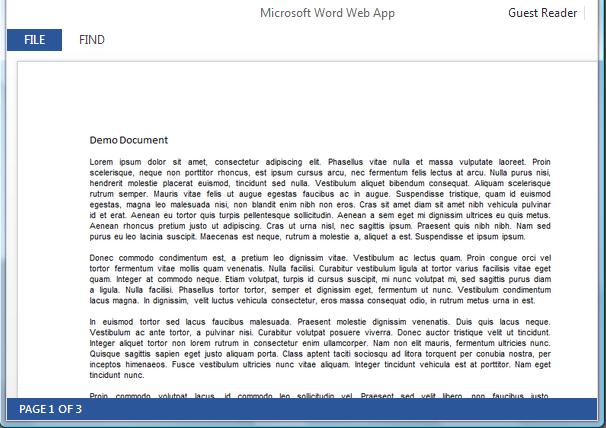
8. The document will be opened and ready for us.

Result

Guest Reader

SharePoint 2013 How to Embed video

In SharePoint 2013 it’s very easy to embed video files. There is no need for content editor web parts or scripting. It is even possible to add embedded video links when replying to a discussion post!

Solution

1. Reply to a discussion topic or edit  a wiki page.
2. Click in the ribbon on Insert.
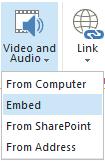
3. Click on Embed under Video and Audio.
AddPictureEmbeded
4. Paste the embedded video code and click on Insert.

AddVideoEmbedded
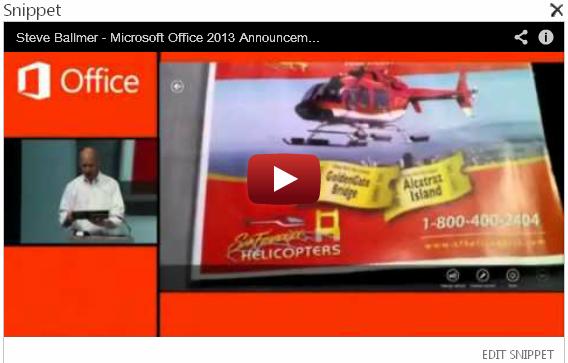
5. A snippet of the video will be shown in the reply box.
AddVideoEmbeddedSnippet
6. Click on Reply to post the video media link or save the page.

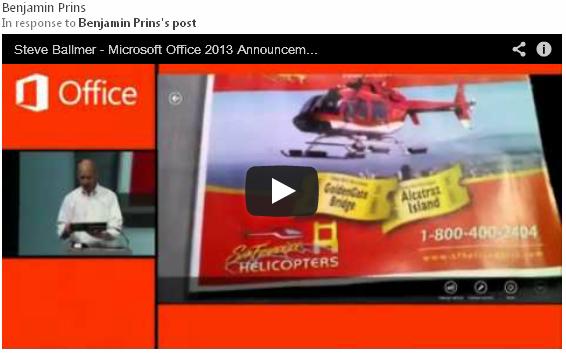
Result
ResultAddVideo

SharePoint 2013 How to add javascript to your site

In SharePoint 2013 is enriched with the Script Editor web part. The web part makes it very easy to add JavaScripts and Jquery script to your SharePoint 2013 site.

Solution

1. Edit the page where you want to use JavaScript.
2. Add the web part Script Editor.
3. Edit the web part Script Editor.

Javascript_2

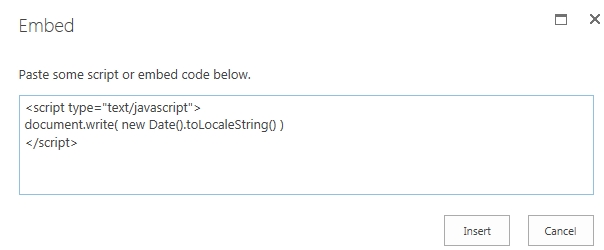
4. Insert the needed Javascript, in this example the JavaScript will show the current date and time.
Javascript_3
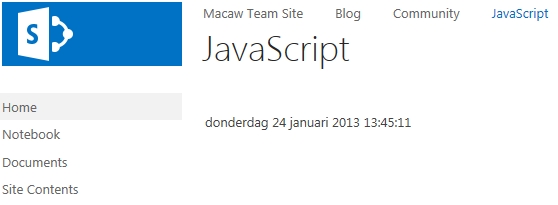
5. Save the changes and  enjoy the result.

Result

Javascript_4

SharePoint 2010/2013 Folders and document set

Many companies are using folder and folders within folders. SharePoint 2010 and 2013 have two different kinds of folders, a document set and the ‘normal’ folder.

With SharePoint 2010 creating a folder in a document set using windows explorer is possible but not recommended. When a folder is present in the document set a number of features will break, for example the share column and record function.

The document set function of SharePoint 2013 Preview seems to be under construction.  It is possible to create document set but the GUID of de document set will be broken. The overview of the structure options for SharePoint 2013 is an indication of what might be, we will have to wait for the full version to verify the options.

In SharePoint 2010 it is possible to…

  • create a folder within a folder
  • create a document set within a folder
  • create a folder within a document set with the windows explorer (creating folders within document set is not advised )

In SharePoint 2010 it is not possible to…

  • create a folder within a document set through the GUID
  • create a document set within a document set

In SharePoint 2013 Preview it is possible to…

  • create a folder within a folder
  • create a document set within a folder
  • create a folder within a document set

In SharePoint 2013 Preview it is not possible to…

  • create a document set within a document set

SharePoint 2013 Visual Workflows

A new feature of SharePoint 2010 was to visual design workflows in Visio. It was only possible to visual design the workflow, the configuration of the actions could only be done with SharePoint Designer. This is still possible in SharePoint 2013 but there is also something new. With SharePoint Designer 2013 it is possible to visual design the workflow and fully configure the actions!


Text-based Designer


Visual Designer

Changing the view

1. Create a new workflow in SharePoint Designer.
2. Change the default Text-based view to the new Visual designer view, by clicking on Views.

3. Add actions and logic to the workflow.
4. Configure the actions.