SharePoint Online: A few new features

SharePoint 2016 contains a few new features. Here is a list of a few of these features which I am excited about.

File Size for uploads
The file size for uploads can be as large as 10 GB, with the previous file size being max. 2 GB.

List view threshold
The list view threshold is stated as greater than 5.000 and is different for specific actions. This will increase the performance of lists.

  • Specifies the maximum number of list or library items that a database operation, such as a query, can process at the same time outside the daily time window set by the administrator during which queries are unrestricted.
  • When adding or removing a column index, the threshold is 20,000 by default.
  • When deleting a list or folder, the threshold is 100,000 by default.
  • When renaming a folder within the same library, the threshold is 100,000 by default

Document library features
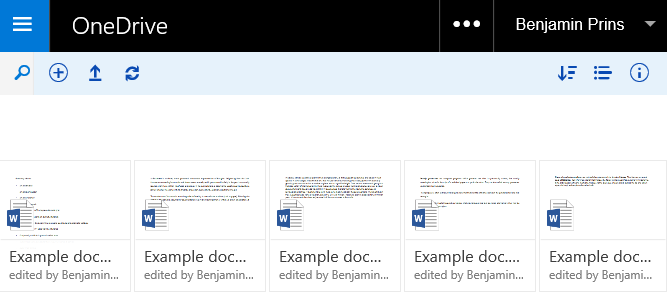
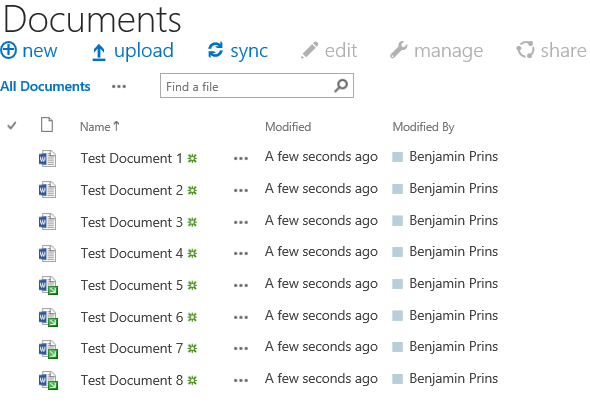
Change from details view to the new tiles view with a click.

Tile view

New ribbon with quick to access features

Ribbon

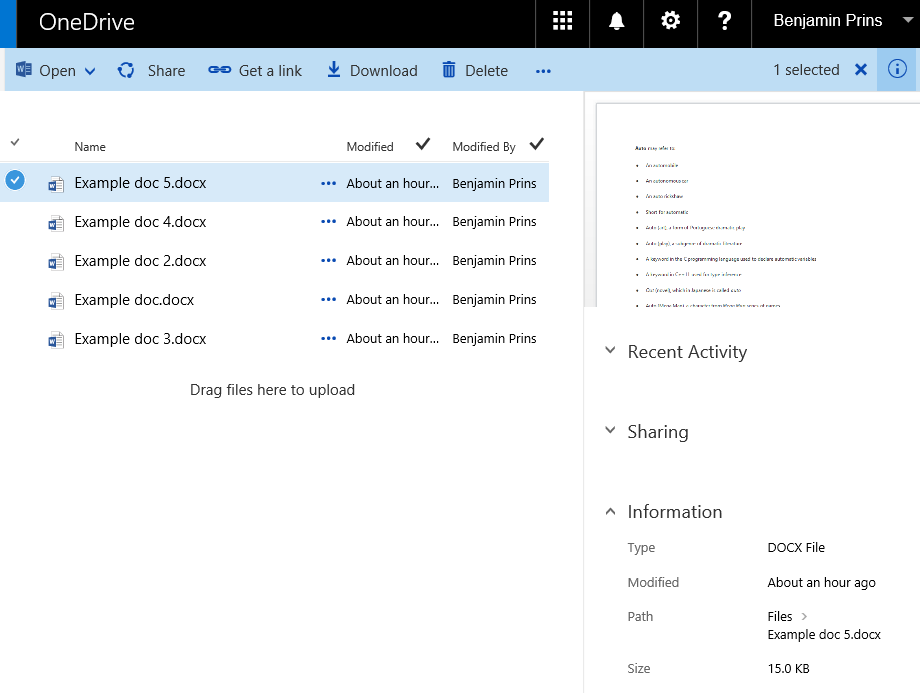
New details view per document, including editing properties and sharing information

Details per Document

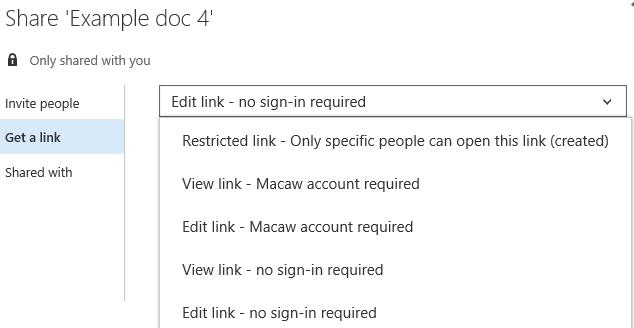
New and improved get (share) a link features, too easily send view and edit links.

Get a link

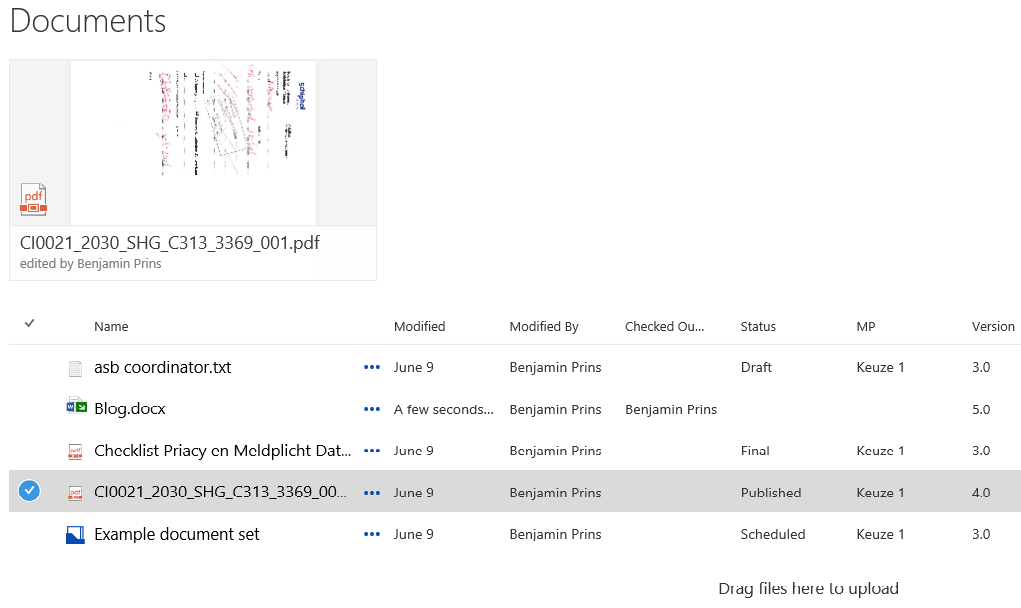
When uploading a document into a document set through the drag and drop feature, the document will be uploaded directly into the document set without the user opening the document set.

Move into DocumentSet

Existing documents can be move into a document set through the drag and drop feature, the document will be moved directly into the document set without the user opening the document set.

Move SP to Document Set

It is possible to pin documents to the top of the document library through the feature ‘Pin to top’. This will allow users to pin the most important documents on a very quick to access location.

Pin to top

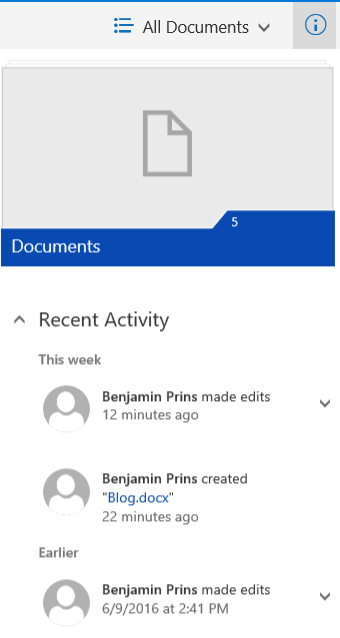
Every user is able to quickly see what the recent activities where within the document library.

Recent Activity

Turn scripting capabilities on

By default scripting capabilities are turned off in Office 365. This will prevent the use of a set of settings and a larger number of web parts.
The administrator of the environment can enable scripting in SharePoint admin center. When scripting is turned on it takes about 24 hours for the change to take effect.

Solution
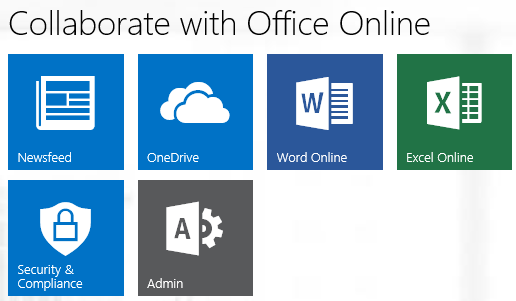
1. Sign in to Office 365.
2. Open the admin center.
Open Admin Center
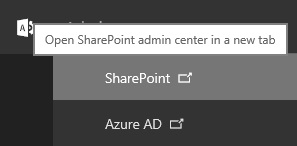
3. Open the SharePoint admin center.
Open SharePoint admin
4. Click on settings.
5. Set custom scripting to allow.
Allow scripting
6. Save the changes and wait 24 hours.

The following web part, features are settings are effected by the turning scripting on/off. When scripting is disabled (off) these functions will be unavailable to administrators.

Effect Web parts and features
Web Part Category Web Part
Blog Blog Archives
Blog Notifications
Blog Tools
Business Data Business Data Actions
Business Data Item
Business Data Item Builder
Business Data List
Business Data Related List
Excel Web Access
Indicator Details
Status List
Visio Web Access
Community About This Community
Join
My Membership
Tools
What’s Happening
Content Rollup Categories
Project Summary
Relevant Documents
RSS Viewer
Site Aggregator
Sites in Category
Term Property
Timeline
WSRP Viewer
XML Viewer
Document Sets Document Set Contents
Document Set Properties
Forms HTML Form Web Part
Media and Content Content Editor
Script Editor
Silverlight Web Part
Search Refinement
Search Box
Search Navigation
Search Results
Search-Driven Content Catalog-Item Reuse
Social Collaboration Contact Details
Note Board
Organization Browser
Site Feed
Tag Cloud
User Tasks
Master Page Gallery Can’t create or edit master pages
Publishing Sites Can’t create or edit master pages and page layouts


Effected sites settings
Site Feature Behavior Notes
Save Site as Template No longer available in Site Settings. You can still build sites from templates created before scripting was disabled.
Save document library as template No longer available in Library Settings. You can still build document libraries from templates created before scripting was disabled.
Solution Gallery No longer available in Site Settings. You can still use solutions created before scripting was disabled.
Theme Gallery No longer available in Site Settings. You can still use themes created before scripting was disabled.
Help Settings No longer available in Site Settings. You can still access help file collections available before scripting was disabled.
HTML Field Security No longer available in Library Settings. You can still use HTML field security that you set up before scripting was disabled.
Sandbox solutions Solution Gallery will not appear in the Site Settings so you can’t add, manage, or upgrade sandbox solutions. You can still run sandbox solutions that were deployed before scripting was disabled.
SharePoint Designer Site Pages: No longer able to update web pages that are not HTML.
Handling List: Create Form and Custom Action will no longer work.
Subsites: New Subsite and Delete Site redirect to the Site Settings page in the browser.
Data Sources: Properties button is no longer available.
You can still open data sources.
Uploading files that potentially include scripts The following file types can no longer be uploaded to a library
.asmx
.ascx
.aspx
.htc
.jar
.master
.swf
.xap
.xsf
Existing files in the library are not impacted.

Add new page button

SharePoint has multiple ways to add pages. It can be done in the document library (pages) or through the settings drop-down menu. For most users these are not the most practical and easy. An easier and faster way is to simply add a hyperlink or button on a page for user to click on. My favorite method is to add a button on the page in SharePoint style. The hyperlink I am using is exactly the same as the hyperlink in the settings drop-down menu.

ButtonAddPage

Solution with hyperlink only
1. Edit the page where the button needs to be placed.
2. Add a Script Editor web part to the page.
3. Add the following code in the script editor.

 <a onclick="if (LaunchCreateHandler(&#39;PublishingPage&#39;)) { SP.SOD.executeFunc(&#39;sp.ui.dialog.js&#39;, &#39;SP.UI.ModalDialog.showModalDialog&#39;, function() { var dlgOptions = { url:&#39;\u002fsites\u002fknowledge\u002fBestPractice\u002f_layouts\u002f15\u002fCreatePublishingPageDialog.aspx&#39;, autoSize: true, autoSizeStartWidth: 550 }; SP.UI.ModalDialog.showModalDialog(dlgOptions); }); };" href="#">  
      new page  
 </a>  

4. Publish the page.

Solution with button SharePoint style
1. Edit the page where the button needs to be placed.
2. Add a Script Editor web part to the page.
3. Add the following code in the script editor.

 <div class="ms-comm-heroLinkContainer">  
   <a onclick="if (LaunchCreateHandler(&#39;PublishingPage&#39;)) { SP.SOD.executeFunc(&#39;sp.ui.dialog.js&#39;, &#39;SP.UI.ModalDialog.showModalDialog&#39;, function() { var dlgOptions = { url:&#39;\u002fsites\u002fknowledge\u002fBestPractice\u002f_layouts\u002f15\u002fCreatePublishingPageDialog.aspx&#39;, autoSize: true, autoSizeStartWidth: 550 }; SP.UI.ModalDialog.showModalDialog(dlgOptions); }); };" href="#" class="ms-textXLarge ms-heroCommandLink">  
    <span class="ms-list-addnew-imgSpan20">  
      <img class="ms-list-addnew-img20" src="/_layouts/15/images/spcommon.png?rev=23">  
 </span>new page  
 </a>  
 </div>  

4. Publish the page.

SharePoint: Show all files which have no checked in version

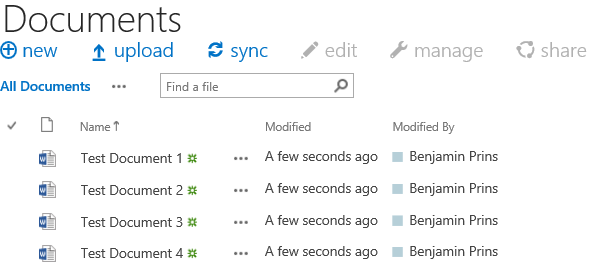
With SharePoint 2010/2013 and the “Check in – Check out” feature enabled documents may seem to disappear and reappear for users without a cause. A common scenario is that colleague 1 saved a document on SharePoint but colleague 2 is unable to find it. While Colleague 1 can still see and find the document. This is a common and a very frustrating situation. This happens when a new file is stored on SharePoint but does not yet have a checked in version. This can happen when multiple files are uploaded to SharePoint and a required column is not filled in or when the setting Require Check Out is enabled. The file(s) will be stored on SharePoint but will be check out and only visible for the up-loader. There is a way for every user to see these hidden checked out documents.

Colleague 1 sees Colleague 2 sees
All documents Check in documents

 
Solution

1. Open the document library where the documents are missing.
2. Click in the ribbon on Library – Settings – Library Settings.
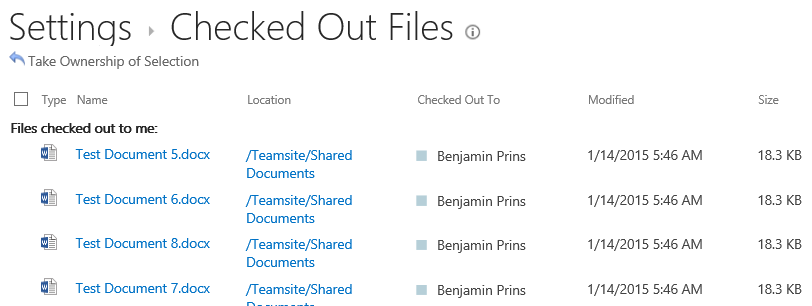
3. Click on Manage files which have no checked in version.
4. All the documents without a checked in version will be displayed.
Checked Out Files
5. If needed the user can take over the ownership and check in the document.

SharePoint Online: Search refiners and searchable columns

Adding search refiners and creating searchable columns with SharePoint Online is a little bit different then with SharePoint 2013 on premise. In this blog post I will explain how to add search refiners and how to make custom columns searchable. There are 5 major parts we need to implement;

  • Create a custom column
  • Add some content
  • Map a crawled property to a refinable managed property
  • Created the alias
  • Configure the refiners

Solution

1. Create your custom column, for example Product.
2. Create some content with the custom column.
3. Wait for the column to be added as a crawled property, this might take up to 24 hours.
4. Open the SharePoint admin center and click on Search.
SharePointAdminCenter
5. Click on Manage Search Schema.
6. Depending on the type of column you will need to use different type of preset Managed Properties.

Managed property name Data type for mapping
RefinableDate00 – RefinableDate19 Dates.
RefinableDecimal00 – RefinableDecimal09 Numbers with max three decimals.
RefinableDouble00 – RefinableDouble09 Numbers with more than three decimals.
RefinableInt00 – RefinableInt49 Whole numbers.
RefinableString00 – RefinableString99 Strings, Person or Group, Managed Metadata, Choice and Yes/No

7. Search the related type on Managed Property.

RefinableString01
8. Click on Edit Map Property in het drop-down menu.
9. Add the Crawled property of the custom column, in our example it will be ows_Product.
AddMapping
10. Fill in the alias, this will make the column searchable.
11. Save the changes.
12. Close the SharePoint admin center and open the search center result page.
13. Set the page in edit modus and edit the Refinement web part.

EditRefinerWebPart
14. Click on Choose refiners… and add the managed property, in this example RefinableString01
15. Change the display name to the custom columns name, otherwise the refiner will be shown as RefinableString01
16. Search for some content and enjoy the result!

Result

SearchRefinerResult2

Display Template custom footer

The Control Template is responsible for the information that is shown in the footer. By default no footer will be displayed, we are able to change this to what ever HTML we want. But remember that we do not have any item related information in the control template. In this blog post I will explain how too create a footer. More information on display templates can be found on my blog post SharePoint 2013 custom display templates.

Solution

1. Edit the related Control Template.
2. Find the end tag of the main UL.

<ul class="cbs-List">
   _#= ctx.RenderGroups(ctx) =#_
</ul>

3. We can place the footer direct below the </ul> or after the noResults If statement, but within the main DIV.

<!--#_
if (ctx.ClientControl.get_shouldShowNoResultMessage())
{
_#-->
        <div class="_#= noResultsClassName =#_">_#= $noResults =#_</div>
<!--#_
}
_#-->

4. Add the required footer html, for example a URL to a info page.

<div>
   <a href="/info.aspx">More info</a>
</div>

5. Publish the control template.

Result

CustomFooterText