Power Platform: Analyse email attachments with AI

In today’s fast-paced business environment, leveraging automation and artificial intelligence (AI) is crucial for maintaining efficiency and gaining insights. This blog post explores how to create a Power Automate flow that reads emails with attachments, extracts content from images or PDF documents using AI, and can perform various analyses on the extracted text. For instance, you can determine the sentiment, generate summaries, or classify emails as purchase requests or complaints and routing then accordingly. By integrating these advanced technologies, businesses can streamline their processes, enhance decision-making, and stay ahead in the competitive landscape.

AI Generated image

Create an AI model

First, we need to create a custom AI document model or AI Prompt that receives the PDF content and analyses it. But off course we can also use a default model. In this example we will be using the default AI Sentiment.

Create a Power Automate Flow

In this flow we will get all the attachments from the email and get the content ready to be sent for a sentiment analysis.

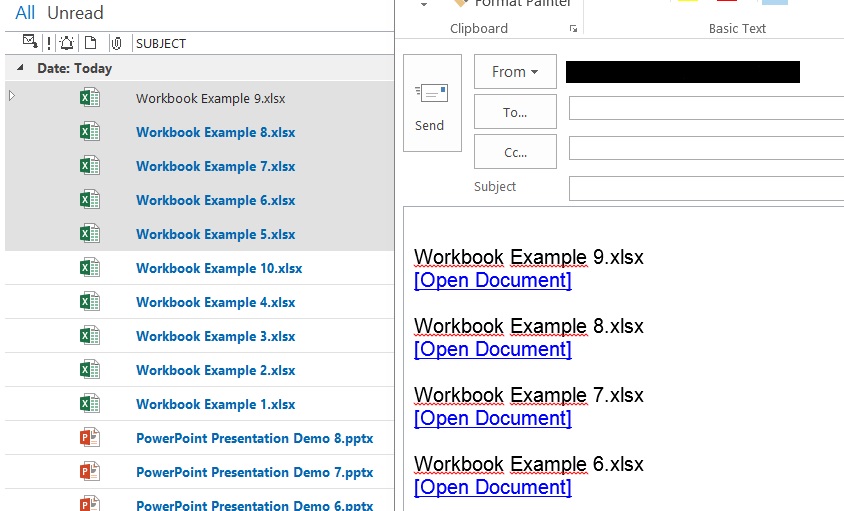
  • Create a Power Automate flow with the trigger, When a new email arrives in a shared mailbox (V2).
  • Connect this with the required email box and select the option Include Attachments to Yes.
  • Add the action Initialize variable and call it Initialize variable – Attachment Content.
  • Add a Scope action called Scope – Get PDF Content.
  • We are going to combine all the content of all the found PDF attachments into one variable. You could also send each attachment file separately.
  • First, we need to filter the attachment files to only get the PDF file.
  • Add a Filter Array action and call it Filter Array – Attachment for PDF.
  • Set the from to Attachments.
  • Set the first value to Attachment Content type.
  • Set the filter to is equal to.
  • Set the second value to application/pdf.
  • Add an Append to string variable action and name it Append to string variable – Attachment Content.
  • Set the Name to Attachment Content.
  • Set the Value to Content (from the filter array) – .
  • An apply to each will be automaticallycreated, name it Apply to each – Found PDF.
  • Add a Recognize text in an image or a PDF document below the apply to each.
  • Set the image to Attachment Content.
  • Add a Scope and name it Scope – AI Sentiment.
  • Add a Create Text with GPT using a prompt action and name it Create Text with GPT using a prompt – Get sentiment.
  • Set AI Sentiment as the Prompt.
  • Set Input Text to Attachment Content variable.
  • Your flow now looks like this.

SharePoint 2013 The Site Mailbox

The site mailbox is a new app for SharePoint 2013 designed to work with emails and there attachments. With the site mailbox it is easy to store emails and documents on a team site to keep track of all the communications. The site mailbox will even be available in outlook to fully benefit from all the features. The Exchange 2013 Mailbox is synchronized with a SharePoint 2013 Site Mailbox, this means that you can work with the emails and document through the browser or Outlook.

Create a Site Mailbox

1. Create a Team site on SharePoint 2013.
2. Click on Keep email in context to create a new Site Mailbox.
Get started with your site
3. Click on AddIt
AddiT
4. The Site Mailbox Mailbox has been added.
Site mailbox new
5. It will take a moment for SharePoint 2013 to create the Site Mailbox.
6. When the Site Mailbox is created it can take up to 30 minutes before the mailbox can be used. SharePoint 2013 will send an email to all the owners and members of the site.

File an email from Outlook

To file an email from Outlook to the Site Mailbox simple drag and drop the email to the sites inbox.
File email

File a documents from Outlook

To file a document from Outlook to the Site Mailbox simple open the email and drag and drop the attachment to the sites Documents library.

File document

Forward a document from the Site mailbox

With SharePoint it is no longer needed to email documents around, to distribute a document simple send the user a link. This will provide everybody with the same document without any versioning issues.
Right-click on a document and click on Forward to send an email with a link to the document.

Forward a Document

Forward multiple documents from the Site mailbox

Forwarding a single document is nice, but forwarding multiple document with minimal afford is really cool.
Create a new Email and drag and drop the documents onto the email.

Forward Multiple Documents

Remove Site Mailbox from Outlook

When a project is finish or the team site is no longer need, you might want to remove the Site mailbox from Outlook. This will only remove the Site Mailbox from Outlook the content will still be available on the team site.
Right-click on the Site Mailbox and click on Close “Site Name” to remove the mailbox from Outlook.

Close Site Mailbox

Manage all Site Mailboxes in Outlook

Right-click on the root mailbox associated with the SharePoint 2013 site and click on Manage All Site Mailboxes… to remove the mailbox from Outlook.
This will open a web page in the browser where you can select the Site Mailboxes that need to be shown in Outlook.
Manage All Site Mailboxes

Open the team site from Outlook

When working from outlook with the Site Mailbox there is a fast way to open the associated team site. Right-click on the document folder associated with the sites mailbox and click on Open in Web Browser to open the linked team site.
Open in Web Browser

SharePoint 2013 The guest link

With SharePoint 2013 is it possible to share content with external users! There are two different ways to share content, with and without an user account. Without an user account it is possible to share individual document, but when you need to share a whole site a user account is required. One of the best parts of the feature is that the user does not need a licence to be able to interact with the content.

In this post I will explain how to share a document without an account. In a different post I will explain how to share a whole site using an external user account.

Solution

1. Open the document library with the document that needs to be shared.
2. Click on the … and then click on Share.
Share Document
3.  Fill in the email address and select Can Edit or Can View.
4. Deselect Require sign-in and click on Share.
Share Document 1
5. A popup window is shown to inform that the document is being Shared using a guest link.
Shared Using Guestlink
6. The following email is send to the user.
Guest Email
7. Click on the Guest link to open the document.
8. The document will be opened and ready for us.

Result

Guest Reader