Nintex Workflow is a powerful tool which lets you visual design workflow within SharePoint. Up until now Nintex Workflow needed to be installed on the SharePoint servers itself, it was not possible to use it with SharePoint Online. In the new SharePoint Online version (part of Office 365) Nintex Workflow is available in the SharePoint App Store!
In this post I will walk through an installation and give a demo using Nintex Workflow Platform Preview on a SharePoint Online site.The Nintex Workflow Platform Preview has less features in comparison to the on premise version, but I expect that this will change over time.
Install the Nintex Workflow Platform Preview
1. Open the app store.
2. Search for Nintex Workflow Platform Preview.
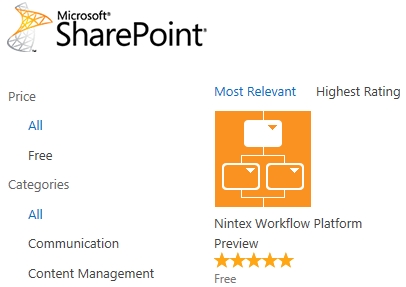
3. Click on the app and add it.
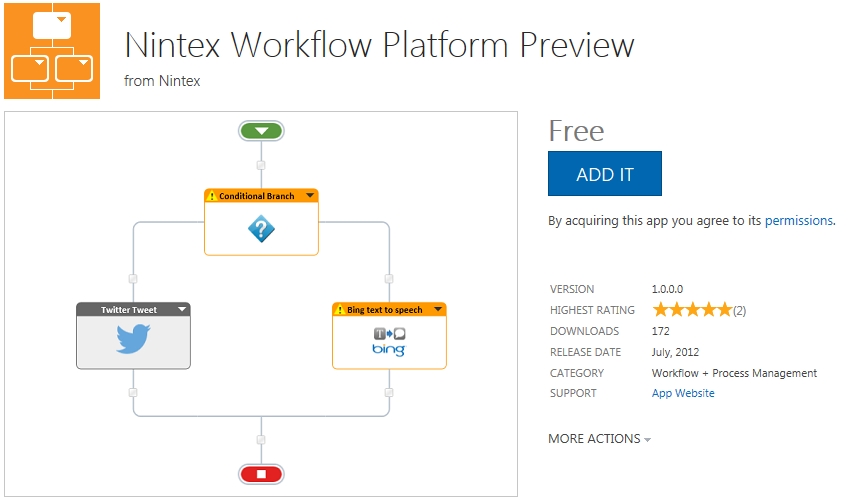
4. Return to the site.

Use Nintex Workflow Plathform Preview
In this demo we are going to build a Nintex Workflow to
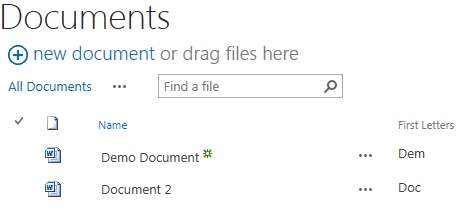
1. Open a document library and create a new Single Line of text column named First Letters.
2. Click on Nintes Workflow in the ribbon.

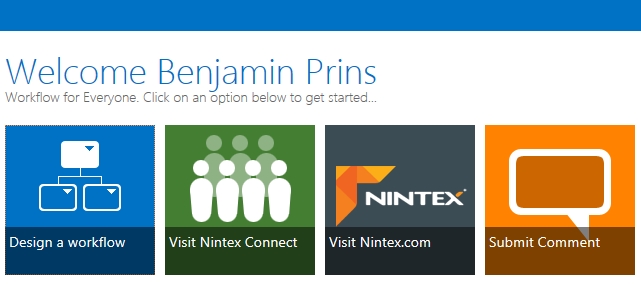
2. Click on Design a workflow.
3. Click on Variable and add a text variable named FirstLettersOfName.

4. Add the Extract Substring from Start of String action to the flow.
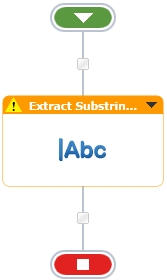
5. Set the action as shown below
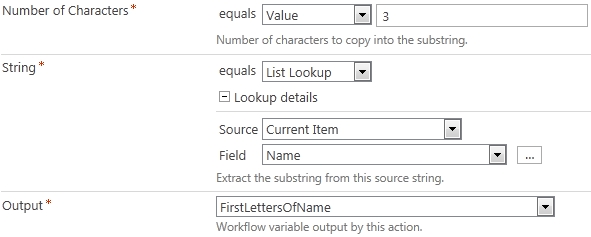
6. Add the Set Field in Current Item Action and set the action as shown below.

7. Set the workflow settings as shown below and publish the workflow.
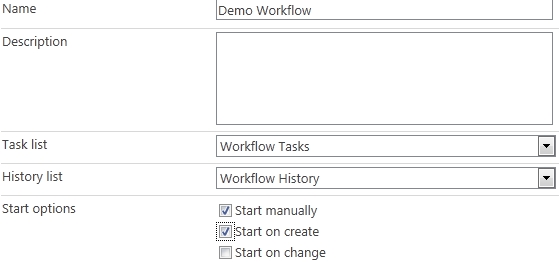
8. Upload a document to the library and check out the result.

