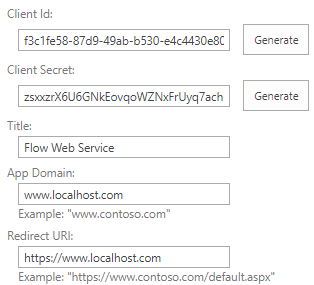
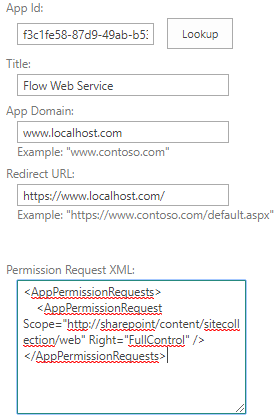
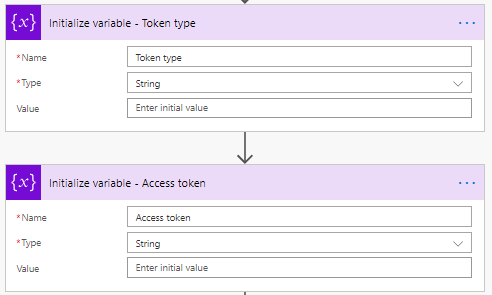
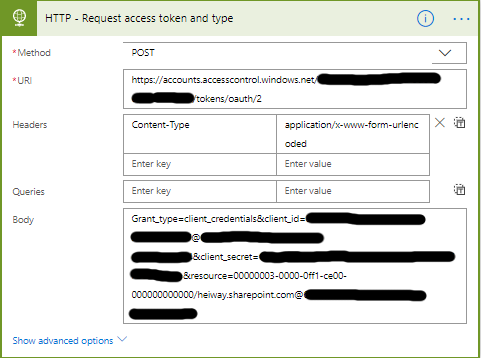
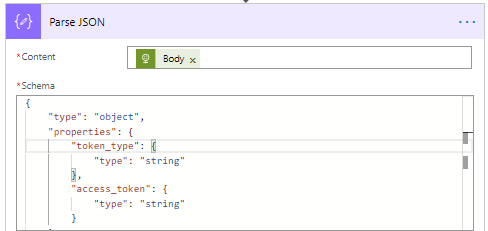
In my last blog post Flow: Set permissions using REST API, I explained how to use the HTTP action and the app permissions. With the HTTP action you can start web services from SharePoint but also from other solutions.
In this blog post I will explain an easier way of using the SharePoint REST API. This setup does not require setting the app permissions. We can simply use the action Send an HTTP request to SharePoint.
Creating the Flow
- First, we will break the inheritance.
- Create a Flow with the required trigger.
- Add the Initialize variable.
- Rename it to Initialize variable – User Principle ID.
- Set the name to User Principle ID.
- Set the type to String.
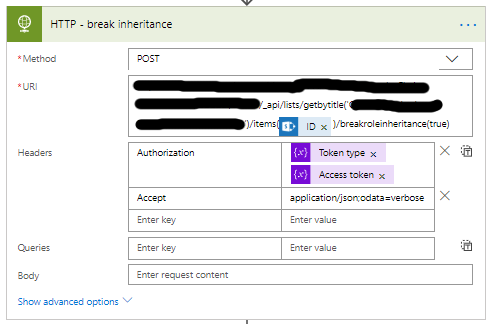
- Add the Send an HTTP request to SharePoint action.
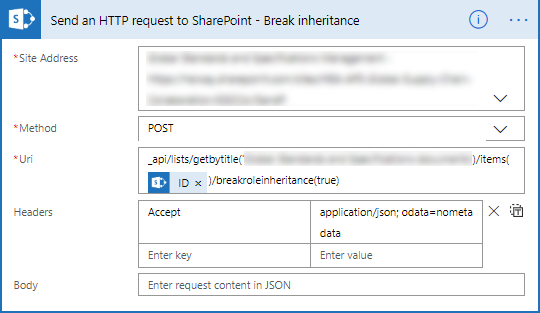
- Change the name to Send an HTTP request to SharePoint – Break inheritance.
- Select or set the correct Site Address.
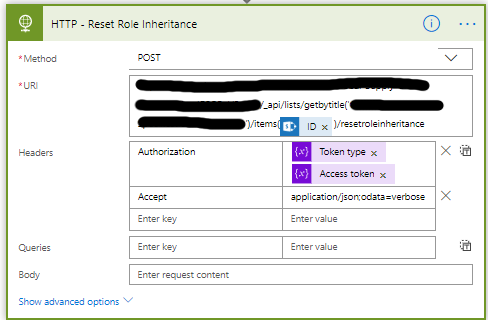
- Set the Methode to POST.
- The URI is different for every item/list you want to manipulate.
- _api/lists/getbytitle(‘<list display name>’)/items(<ITEM ID>)/breakroleinheritance(true)
- Set the Headers as follows.
- The key is Accept
- The value is application/json;odata=verbose
- Now we will look up the user’s information.
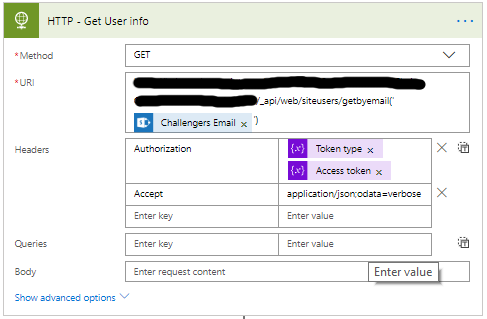
- Add the Send an HTTP request to SharePoint action.
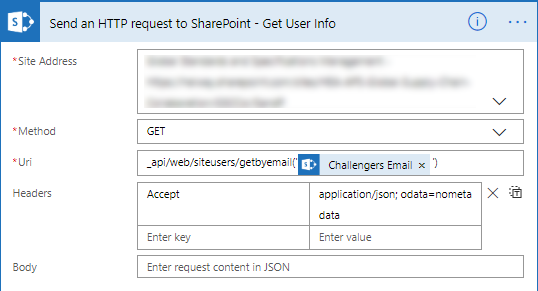
- Change the name to Send an HTTP request to SharePoint – Get User Info.
- Select or set the correct Site Address.
- Set the Methode to GET
- The URI is different for every item/list you want to manipulate.
_api/web/siteusers/getbyemail(‘<email address>’) - Set the Headers as follows.
- The key is Accept
- The value is application/json;odata=verbose
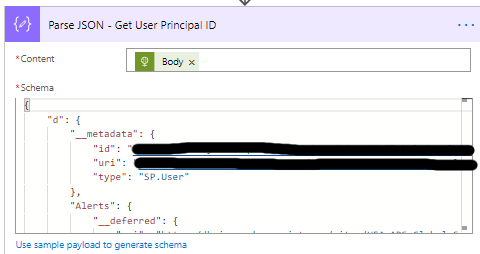
- Add the Parse JSON action.
- Set the Content to Body (the result of the Get User info action).
- Change the name to Parse JSON – Get User Principal ID.
- Use the following Schema to parse the JSON. This will give you more than you will not for this example. I add this Schema, so you have access to more information if required.
{
    "type": "object",
    "properties": {
        "d": {
            "type": "object",
            "properties": {
                "Alerts": {
                    "type": "object",
                    "properties": {
                        "__deferred": {
                            "type": "object",
                            "properties": {
                                "uri": {
                                    "type": "string"
                                }
                            }
                        }
                    }
                },
                "Groups": {
                    "type": "object",
                    "properties": {
                        "__deferred": {
                            "type": "object",
                            "properties": {
                                "uri": {
                                    "type": "string"
                                }
                            }
                        }
                    }
                },
                "Id": {
                    "type": "integer"
                },
                "IsHiddenInUI": {
                    "type": "boolean"
                },
                "LoginName": {
                    "type": "string"
                },
                "Title": {
                    "type": "string"
                },
                "PrincipalType": {
                    "type": "integer"
                },
                "Email": {
                    "type": "string"
                },
                "Expiration": {
                    "type": "string"
                },
                "IsEmailAuthenticationGuestUser": {
                    "type": "boolean"
                },
                "IsShareByEmailGuestUser": {
                    "type": "boolean"
                },
                "IsSiteAdmin": {
                    "type": "boolean"
                },
                "UserId": {
                    "type": "object",
                    "properties": {
                        "__metadata": {
                            "type": "object",
                            "properties": {
                                "type": {
                                    "type": "string"
                                }
                            }
                        },
                        "NameId": {
                            "type": "string"
                        },
                        "NameIdIssuer": {
                            "type": "string"
                        }
                    }
                },
                "UserPrincipalName": {
                    "type": "string"
                }
            }
        }
    }
}
- Add the Set variable action.
- Change the name to Set variable – User Principle ID.
- Select by name the variable User Principle ID.
- Set the value to ID (the ID output from Parse JSON – Get User Principal ID)
- Now we will grant a user permissions, I am granting the challenger (property of the item) contribution access.
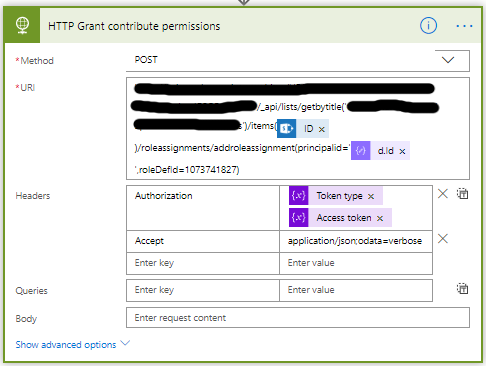
- Add the Send an HTTP request to SharePoint action.
- Change the name to Send an HTTP request to SharePoint – Grant Contribute permissions.
- Select or set the correct Site Address.
- Set the Methode to POST.
- The URI is different for every item/list you want to change.
<site url>/_api/lists/getbytitle(‘<list display name>’)/items(<ITEM ID>)//roleassignments/addroleassignment(principalid='<d.ID>’roleDefId=1073741827) - The id 1073741827 stands for contributor, in my blog post SharePoint: Get the Role ID you can read more about role id’s.
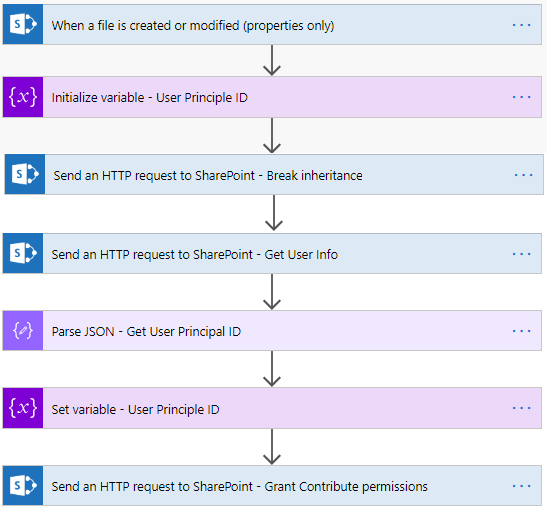
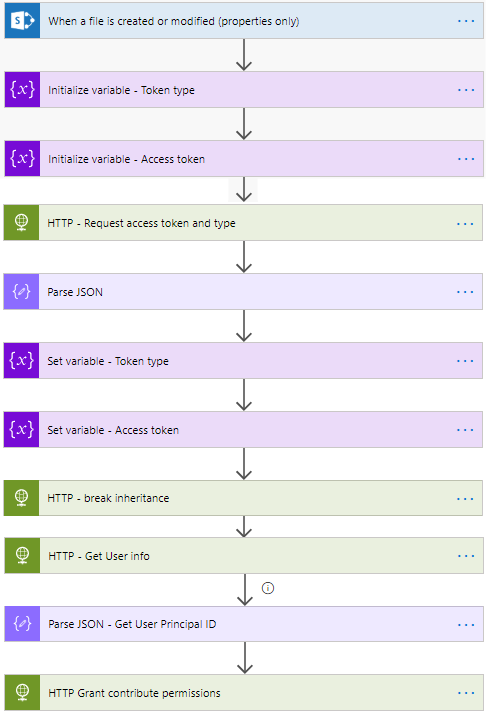
- Your Flow will now look like this.

